Warmup
Part A: Setting up replit
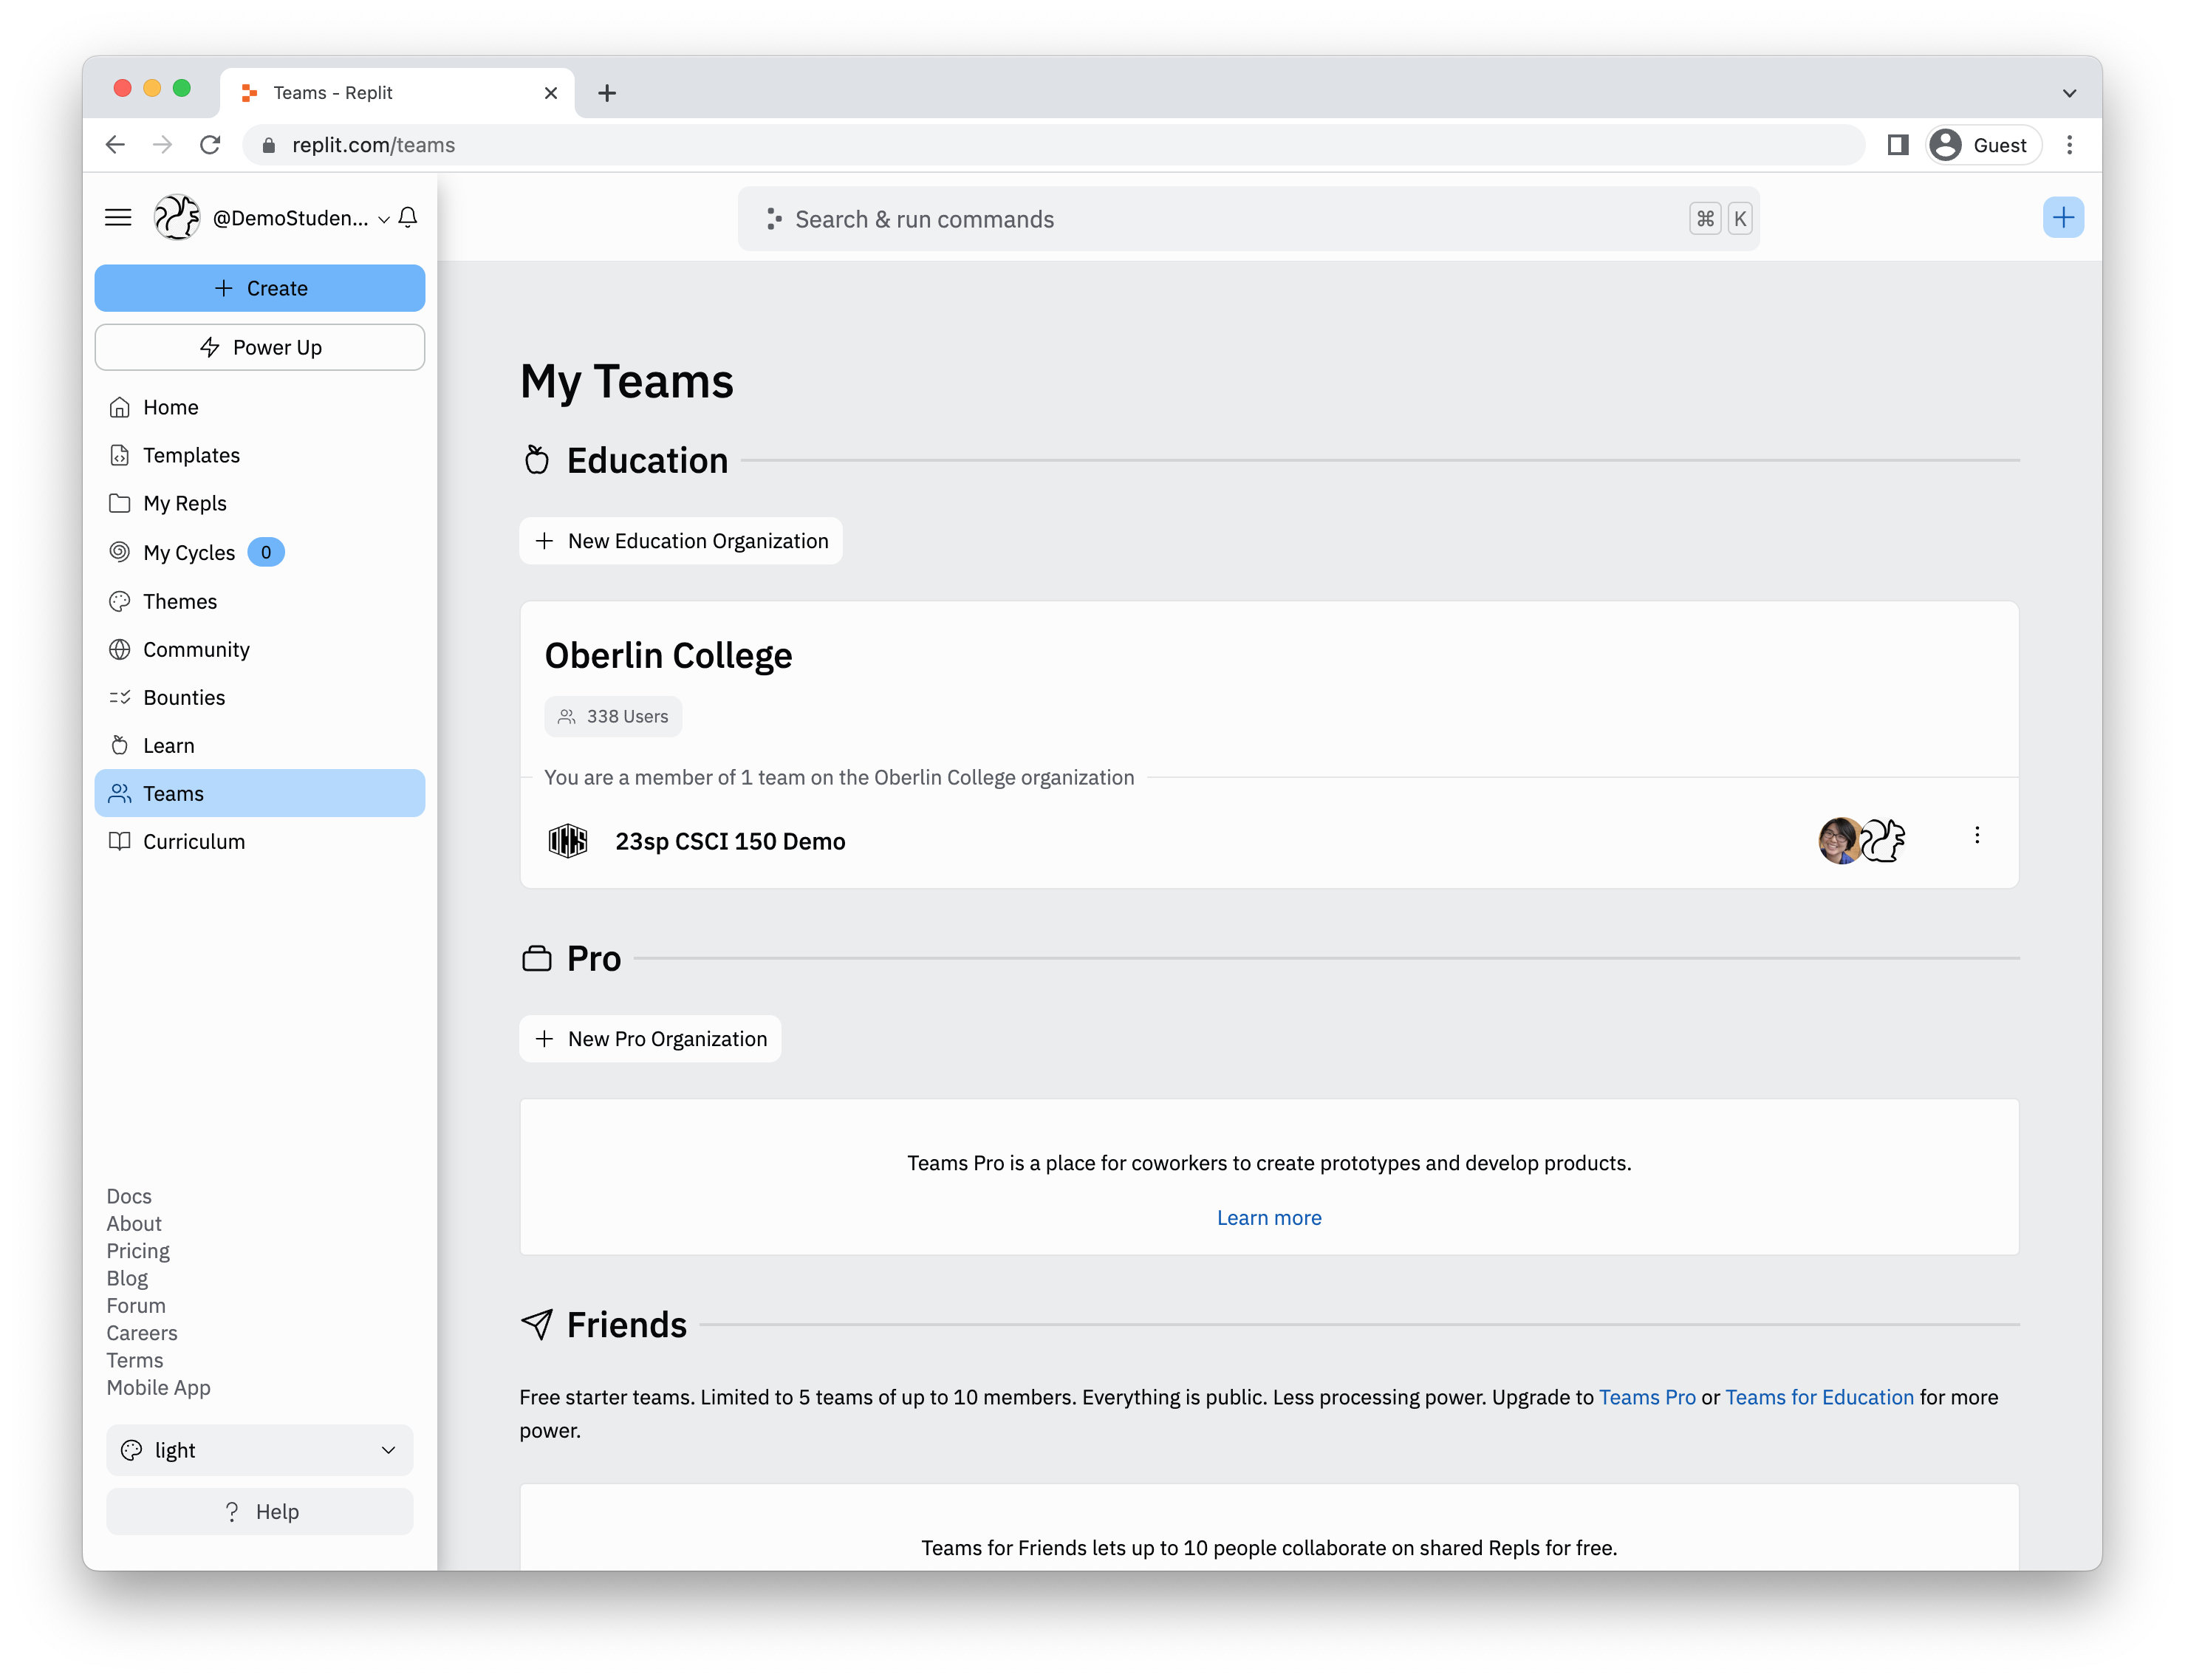
To start this warmup, you need to log in to your replit account. If you have been added to the class team, then you should see a Teams link on the left-hand menu. Click on Teams, and then select the team with CSCI 150 in the name.

On your class section’s Team page, you should see a heading called “Lab Assignments” with a project called “Lab 1”. To start the assignment, you should click on the Start project link in the Lab 1 project box. This will create a copy of the assignment that is only accessible to you, in which you can write all of your programs.
Using the Programming Environment
Once you have created your copy of the assignment, you should see a programming environment that is similar to the image below.
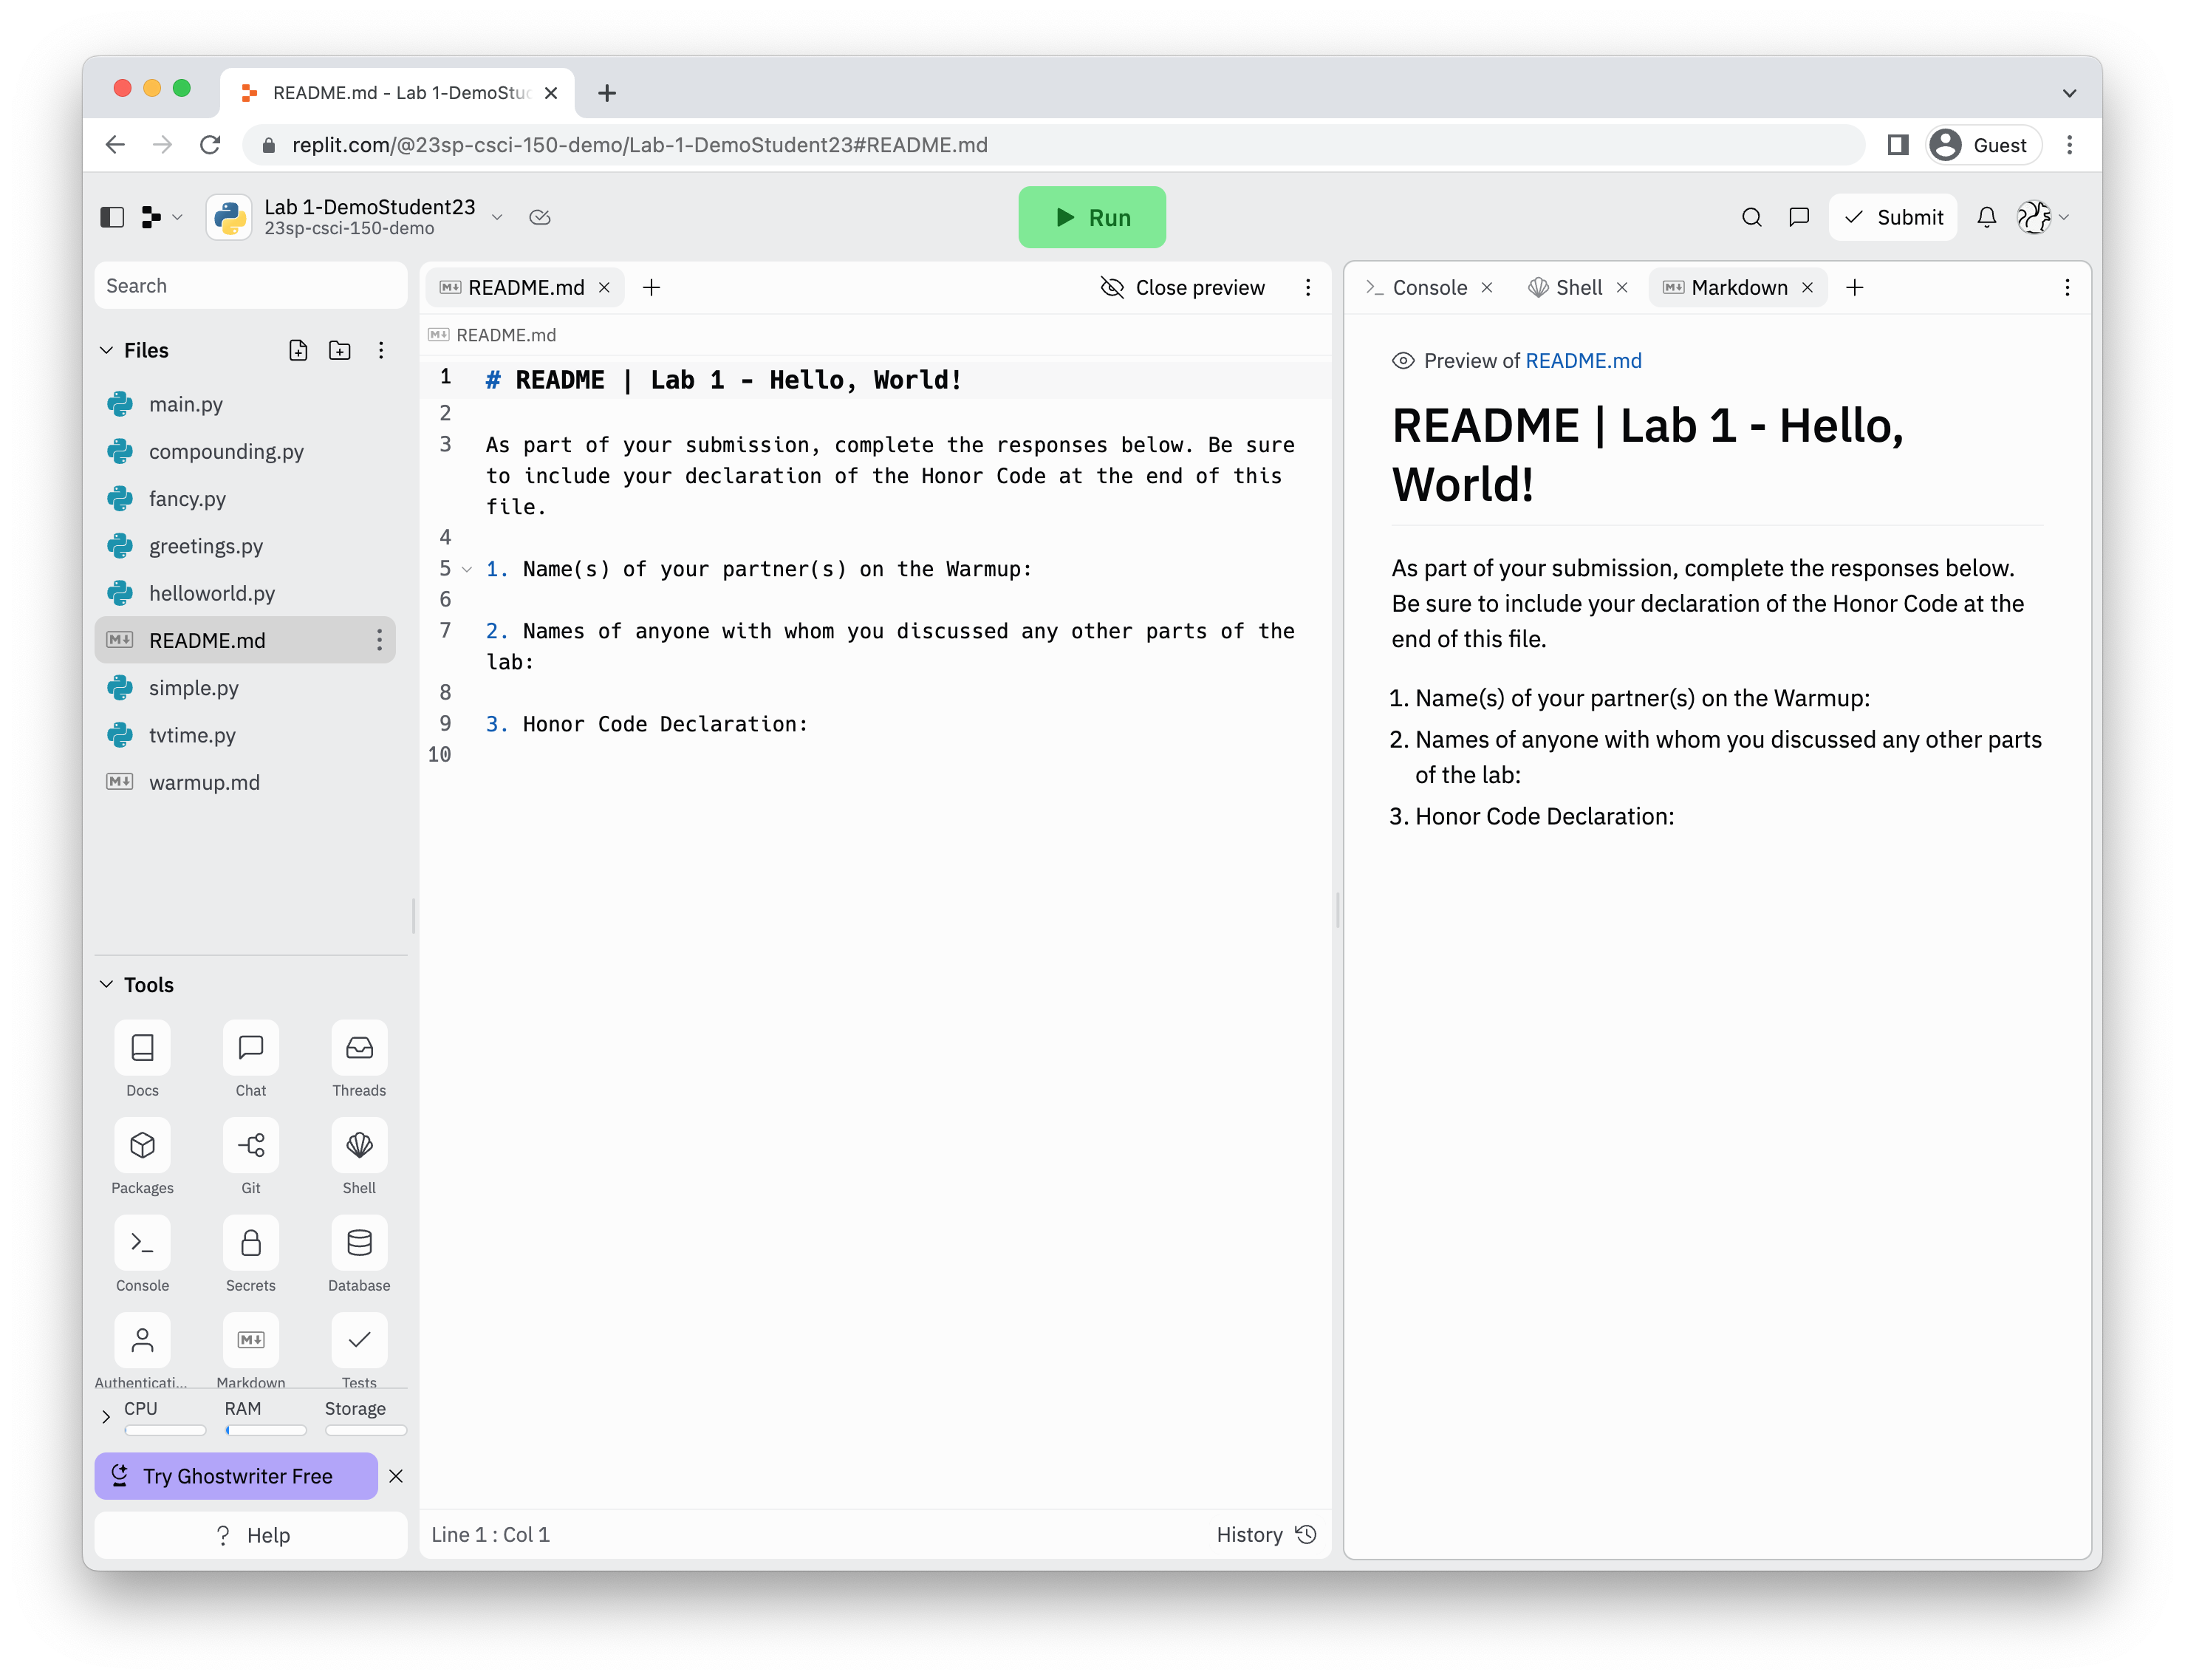
Let’s now take a look at the three different panels of the replit editor.
- Left Panel: The left side is a list of all of the files currently in the assignment. There should be one for each of the programs you will create during this lab. For reasons we will not cover now, replit automatically adds a
main.py. You can happily ignore that file for this semester. - Middle Panel: The middle section of the screen is the code editor. The editor displays the code for the file selected in the left panel. This is where you will do all of your programming (a.k.a. where the magic happens).
- Right Panel: The right of the screen contains tabs for the Console, Shell, and Markdown preview. The Shell, or command line, is where we will run all of our programs. Either the Markdown or Console tabs will be selected by default, so be sure to click
Shellto activate the command line. To run a program, you should type in the commandpythonfollowed by the name of the program you want to run. The input and output of your program will all be in this right window.
ReadMe
Keep in mind that you can close your replit assignment and return to it at any time. To return to your assignment, go to your Teams page on replit (as described above), then clicking on the Continue working link on the lab assignment under “Team Projects”. replit automatically saves your progress as you work.
Part B: (Likely) Your First Python Program
As your first task, you’re going to continue a ritual that has been around since the early 1970’s – starting to explore a programming language by first creating a program that prints the phrase “Hello, World!” to the screen.
To start your first program, open the helloworld.py file in left hand “Files” panel. Then, type in the following:
# helloworld.py
# This is our first Python program!  It prints hello to the world.
#
# Name: <Your Name Goes Here>
# Date: <Today's Date Goes Here>

print("Hello, World!")
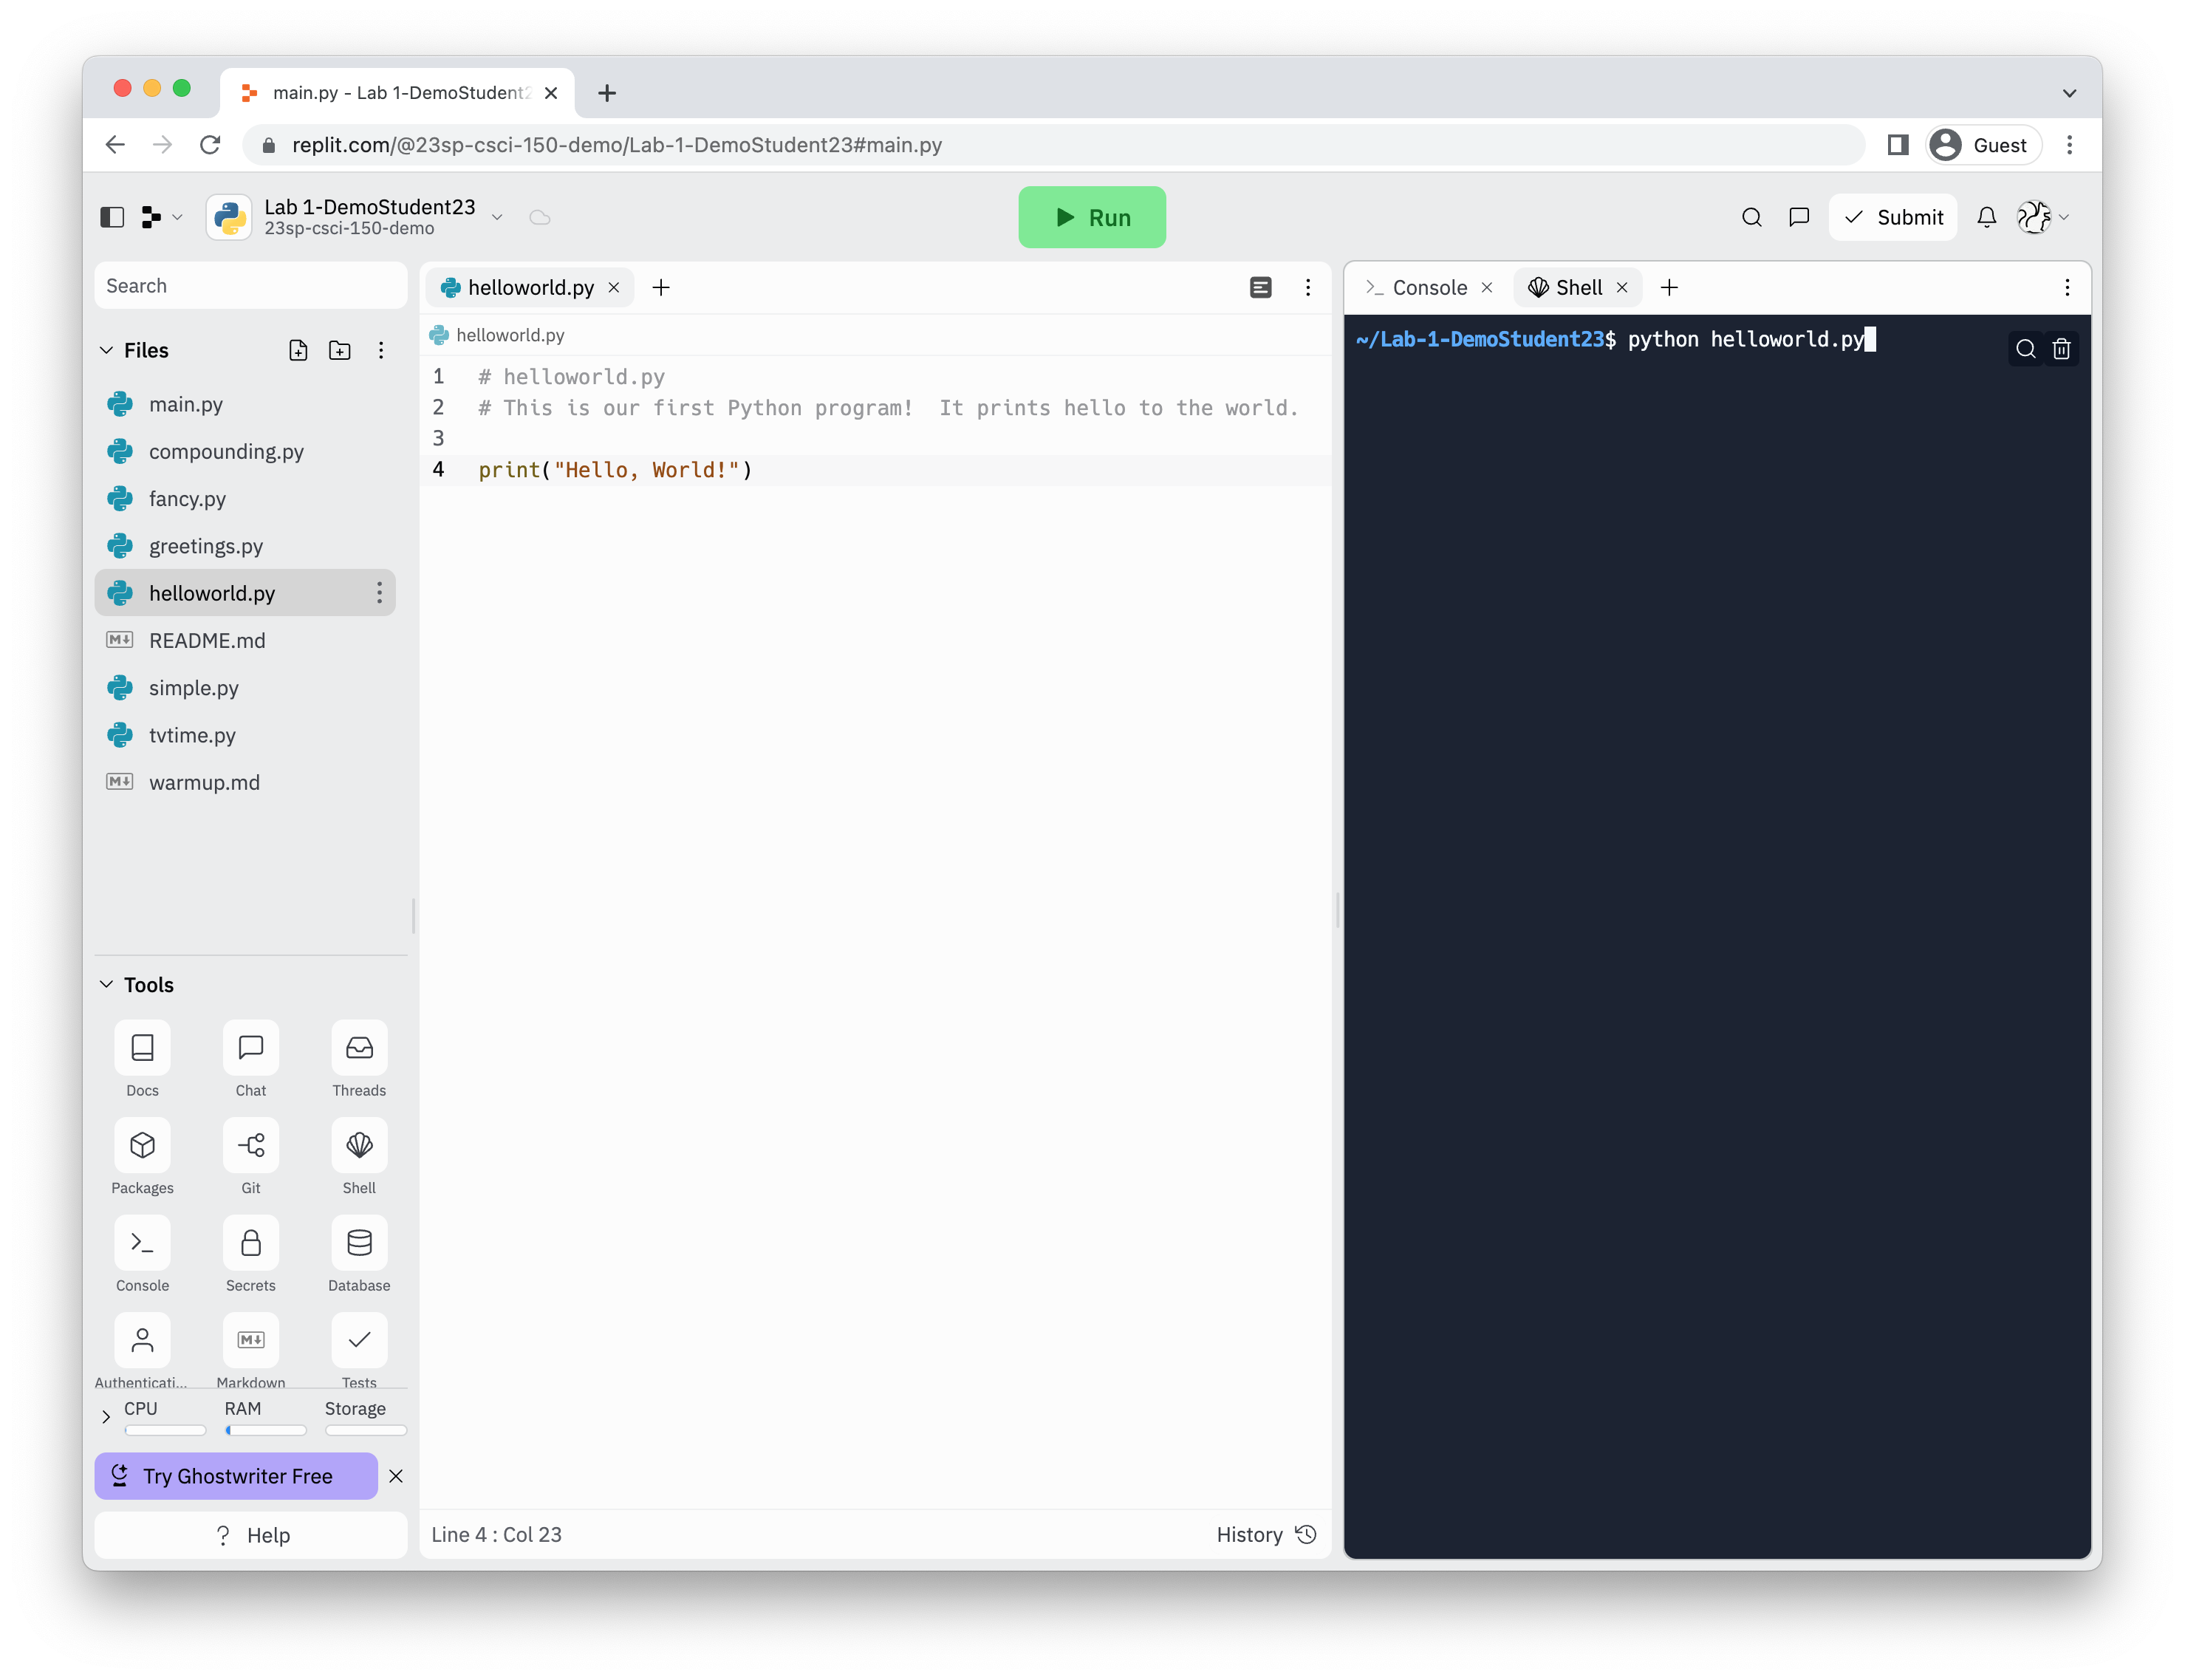
To run the program, click on the Shell tab on the right hand side and type
python helloworld.py
What happened when you ran the program?
Part C: String Concatenation
Recall that when we write text between quotation marks "like this", it is a string. We can join two strings together using a +. Let’s try it out!
In the Console tab, enter print("one" + "two" + "three") and press enter. Notice how it joined, or concatenated, the strings into a single string and printed onetwothree.
Now, enter print("one", "two", "three"). Notice that this one has a comma rather than a + between each string. Compare the output to the previous print.
What’s happening here is that Python’s print() will print each of the items given to it with spaces between them. Handy!
With a partner, predict what each of the following lines prints out. Then run them each to check your predictions. Note carefully which ones have pluses and which ones have commas. Pay careful attention to the spaces in each line and in the output.
print("Computer", "Science", "is", "great", "!")
print("Computer",      "Science",      "is","great","!")
print("Computer", "Science" + "is", "great" + "!")
print("Computer ", "Science " + "is ", "great" + "!")
Finally, write a print() line that uses "Computer", "Science", "is", "great", and "!" with some commas and a + to print the message below.
Computer Science is great!
Part D: Modulus
Recall that we can compute the remainder of dividing x by y using the modulus operator: x % y. For each of the following, work with your partner to figure out what the result will be. Then use the Python interpreter in the Console tab to compute them and check your work.
- 25 mod 4
- 12 mod 3
- 5 mod 13
- 0 mod 10
One thing we can do with a modulus is compute the ones digit of a number. For example, the ones digit of 123 is 3. Given any integer x, what number m should you mod x by to get the ones digit? In other words, we want to determine the m such that 123 % m returns 3.
Test that your value of m works by checking that 51 % m gives 1 and 1028 % m gives 8.
We can do a similar thing with units of time. For example, if working on this warmup takes 5000 seconds, then we can divide by 60 to figure out how many full minutes it takes and we can mod by 60 to figure out how many additional seconds it takes. In this case, 5000 seconds is 5000 // 60 minutes and 5000 % 60 seconds. Go ahead and compute those expressions using the Console tab.
We can do something similar with hours and minutes. With your partner, work out how to compute the number of hours and minutes there are in 83 minutes.
Assuming this whole lab takes 15000 seconds, how many hours, minutes, and seconds is that?